Tag Archives: digital painting

Color Blind, part 2

image

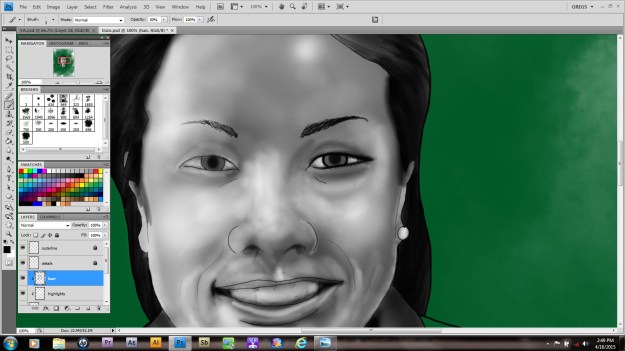
       Wanna hear something funny? When I dropped in my color for this image, I did it in color! Had to correct that after I realized it. From there I create a clipping mask and began adding my highlights and shadows, each separately. I’m allowing a little bleed over into the hairline because it helps set up the tones I need for the scalp.

image

      Next I add the hair and eyebrows. When I feather in the edges of hair I like to use a custom brush that I got from another artist, Genzoman. I don’t always want to make them and a good idea is a good idea, especially if it’s freely given. The eyebrows are a little too dark, so I’ll erase them with a low opacity soft eraser to get them right.

image

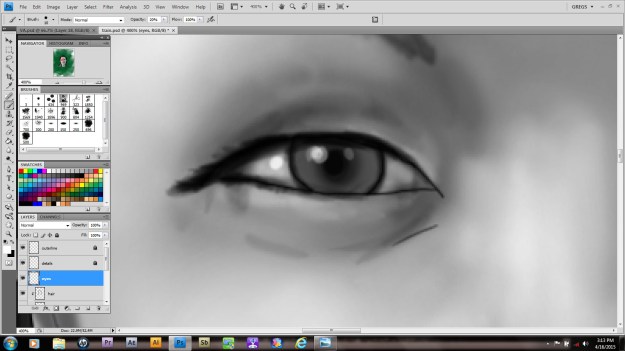
     When you’re doing eyes,  it’s hard sometimes to not go overboard with detail. I create a more realistic look when I dial it back a little. Also it took awhile to not add little bright dots for highlights the way I did when I drew anime style characters. It’s a good look in that context, but a little soft brush goes a long way.

image

     Finally, I began texturing the hair. I didn’t want to go for a flat sheen. Too plain.  So I added some stray strands to give it personality.

      So now I’m almost set! Next time you’ll see the final product, so keep an eye out!
Color Blind

image

      Didn’t I promise you guys a greyscale image that I’d color by blending them in?

      I can’t remember….

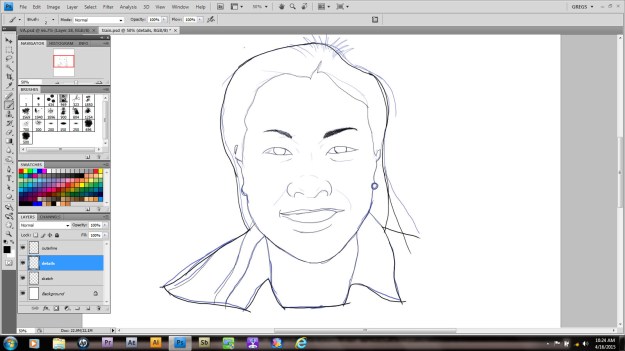
      It doesn’t matter though, cause I’m doing it anyway! I begin by drawing my subject from a very bad phone shot. No, I won’t show it; I’m a videographer my rep would suffer! Besides, this is really just a sketch. Once it’s done I began by changing the color and opacity. I create a separate layer for all the line work needed. Always make sure you’re using hard edges at this stage.

image

      Once you’re happy with your line art you can divide it up if you choose. I always put all the interior detail work on a separate layer, so that I can change it to go with my color fills. I’m pretty sure that’s not standard or anything,  it’s just something I prefer.

image

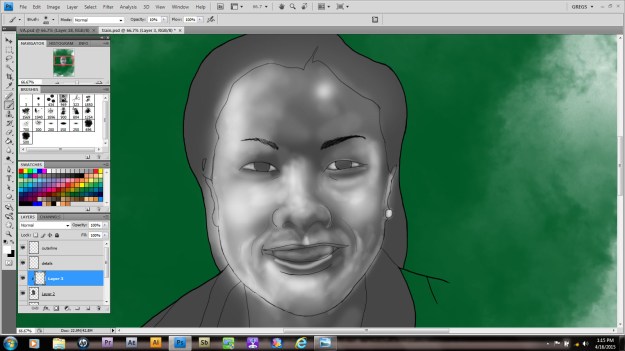
       Today I took a cloud brush and stamped in some green clouds. Why? Hell if I know!  Just kidding. I actually have an idea kind of bouncing around in my skull. After that I create another layer and use the selection tool (w) to outline the main layer of art. If it doesn’t come all the way into the line, choose [Select> Modify> Expand ] to increase your selection edge by increments of pixels.  So much fun!

      Once you’ve gotten a good setup, make sure you have the interior of your outline. It you see your selection ants on the border as well, press [Ctrl/Cmd +shift +I] to invert your selection. The next step is to pick a midrange color and using either your brush or paint bucket,  fill the selection area. Pretty easy, right?   
      That’s it for now. I’m going to go drink and play while you practice. Just like a real teacher…

Happy New Year!

image

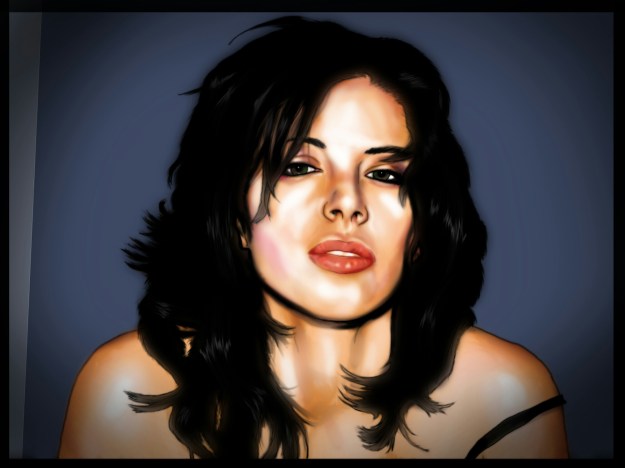
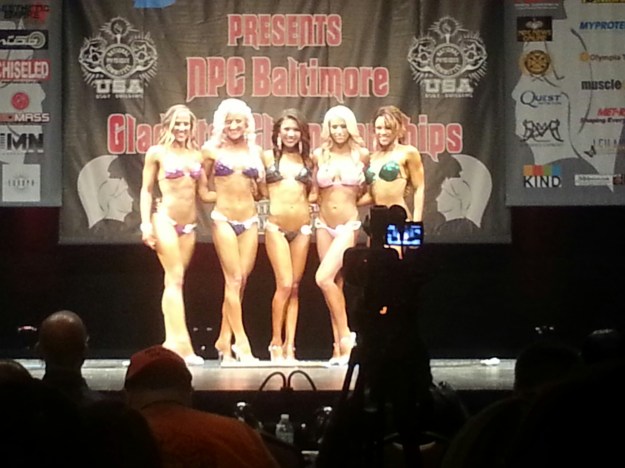
      Yay, I finished my picture!  Hugs all around. Even though I missed the bodybuilding show that a lot of customers attended,  a couple of people sent me pictures…

image

      Of course I have no idea what I’m going to do with them. All the images,  coincidentally, are of the female competitors. And this far away. At least they were being helpful,  so if you’re reading this, thanks.

      To be honest a lot of my energy right now is being expended on getting my home repaired. But hey, if you can’t make time to draw, what’s the point?