Tag Archives: muse

Made for Me

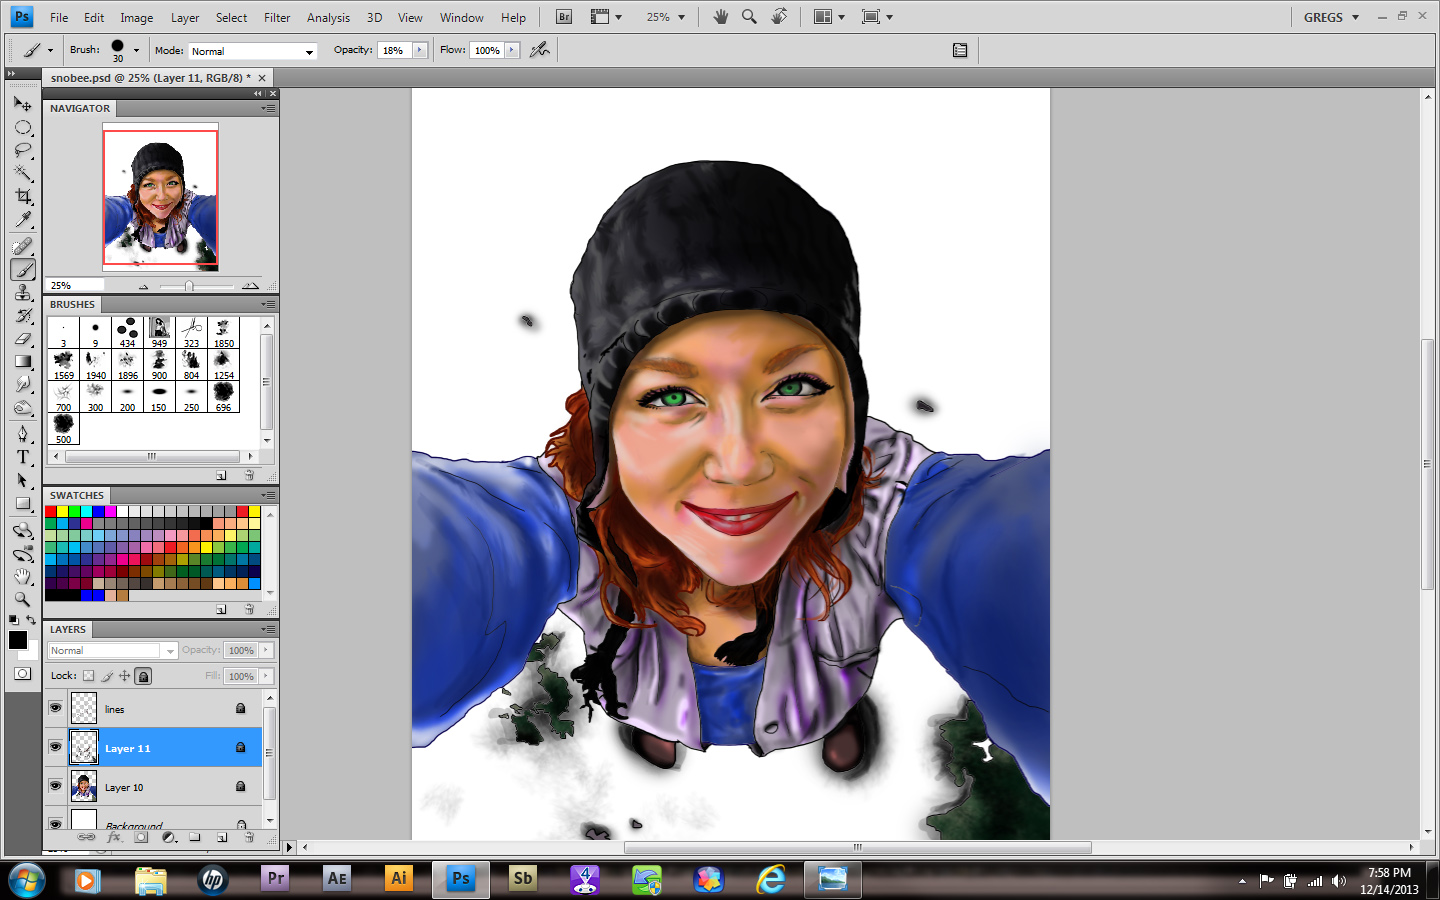
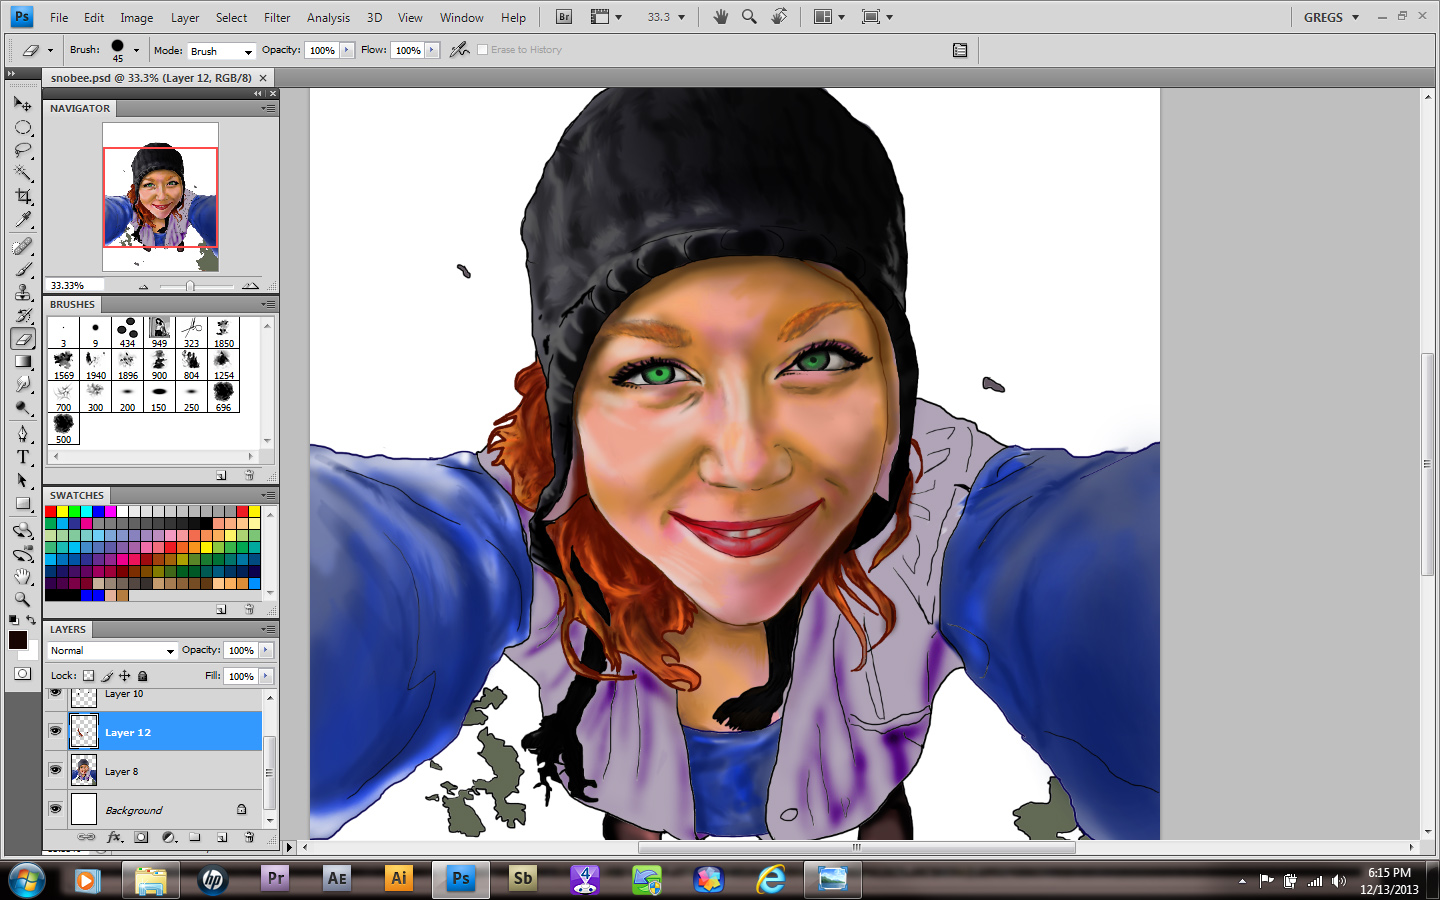
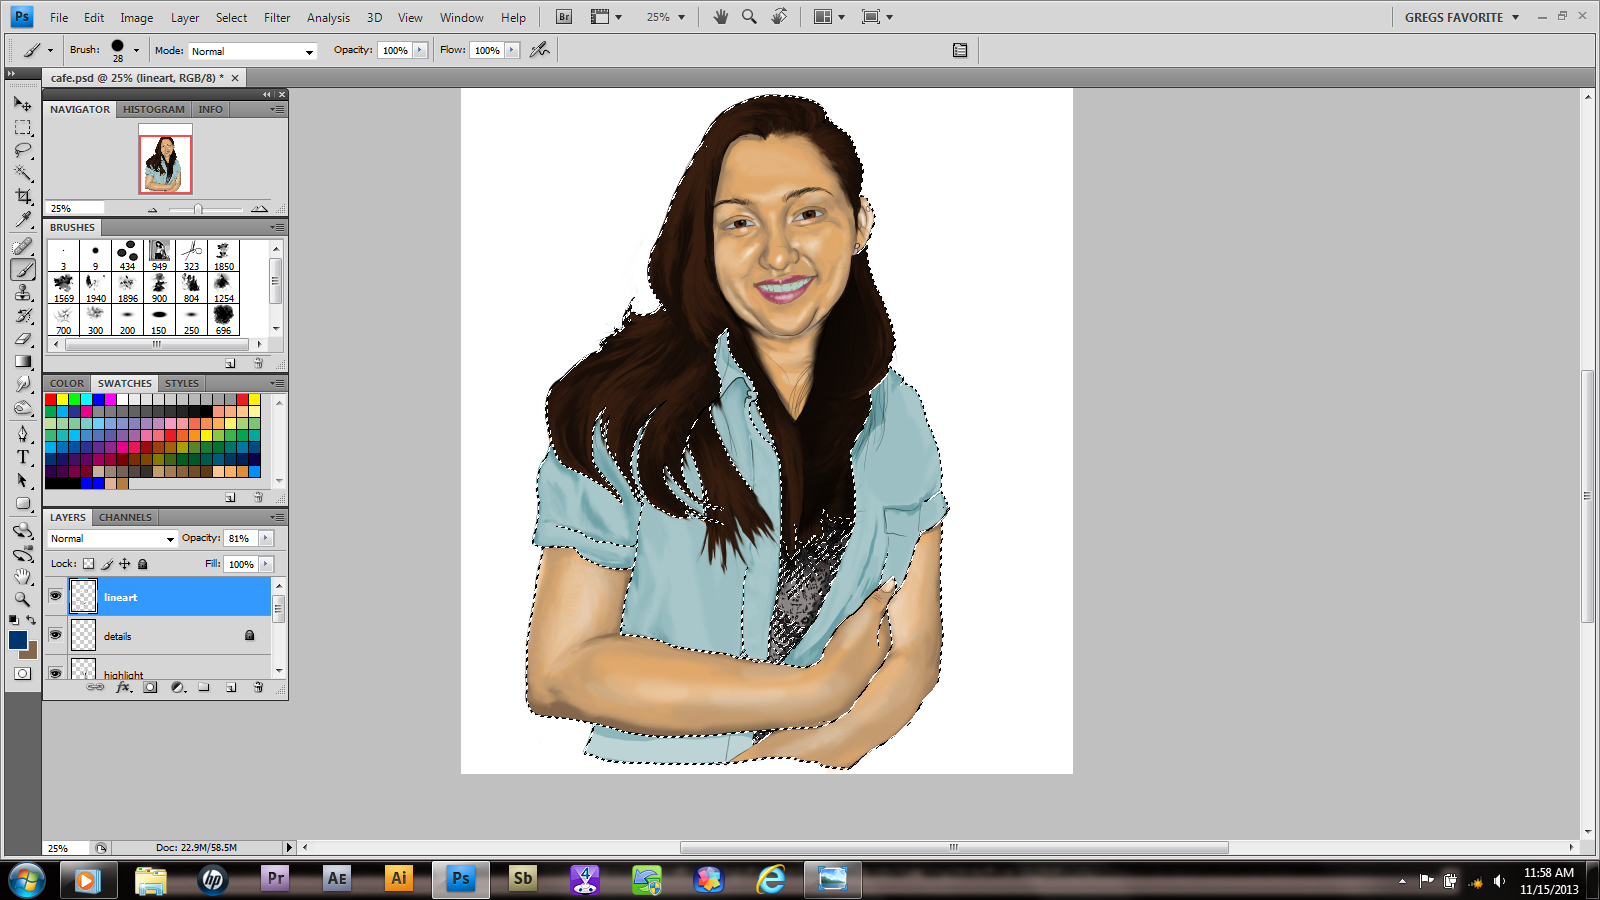
Some of you may remember the last time I drew this young lady. Probably not though. Well, to be honest, I do have a few people who are always available for this.

I guess you can call them my muses.

Of course Melissa, Rebekah, Velvet and Zoa are aware of their status. Which means that I often get to draw them and have used them for reference. It’s helpful.

The funny part (at least to me) is that whenever a new subject or image comes up, I get none of the “who’s she?” feedback that certain peers of mine do. I believe it’s because I’m not dating them. In fact at least one of them is married!

So much for the “sleeping around” artist theory, hahaha.

Anyway the reason I mention this is because sometimes when drawing in public, I catch a bit of flak from women who think that they’re the focus of my art. That’s NEVER the case.

So….no more attacking the artist publicly, okay? You’re going to be embarrassed when I show you an image of a car, dog, or someone else.

Advertisement

Color Blind

image

      Didn’t I promise you guys a greyscale image that I’d color by blending them in?

      I can’t remember….

      It doesn’t matter though, cause I’m doing it anyway! I begin by drawing my subject from a very bad phone shot. No, I won’t show it; I’m a videographer my rep would suffer! Besides, this is really just a sketch. Once it’s done I began by changing the color and opacity. I create a separate layer for all the line work needed. Always make sure you’re using hard edges at this stage.

image

      Once you’re happy with your line art you can divide it up if you choose. I always put all the interior detail work on a separate layer, so that I can change it to go with my color fills. I’m pretty sure that’s not standard or anything,  it’s just something I prefer.

image

       Today I took a cloud brush and stamped in some green clouds. Why? Hell if I know!  Just kidding. I actually have an idea kind of bouncing around in my skull. After that I create another layer and use the selection tool (w) to outline the main layer of art. If it doesn’t come all the way into the line, choose [Select> Modify> Expand ] to increase your selection edge by increments of pixels.  So much fun!

      Once you’ve gotten a good setup, make sure you have the interior of your outline. It you see your selection ants on the border as well, press [Ctrl/Cmd +shift +I] to invert your selection. The next step is to pick a midrange color and using either your brush or paint bucket,  fill the selection area. Pretty easy, right?   
      That’s it for now. I’m going to go drink and play while you practice. Just like a real teacher…

I LOVE to Prey

image

      In the midst of everything I was going through, I had gotten a long way on this picture.  It wasn’t until this morning however, that I remembered to post this!  I’m definitely off my A game…

     As you can see I’ve been blending in my shadows and highlights for this image. The way I usually do this is to take whatever layer of color I’m working on and, using my selection tool (W), I select all of that color. Once you’ve done that, create another layer above your resource layer and press Ctrl+Alt+G. This will create a clipping mask from your selection, allowing you to color or draw at will without bleeped from your parameters!  No more line tracing and erasing!

image

The down arrow next to the layer denotes a clipping mask

      My next thing may just be a “me” choice, but it’s worked and I’ll use it until I find a way that works better for me. If all my colors and art agree, I’ll make a copy of the psd file and flatten the image. From there I use the smudge tool to blending and mix in colors. The reason is because it doesn’t give a completely perfect gradation, which looks more realistic to me. I have my own, but my favorite is a tri-point brush I got from an artist named Genzoman(deviantart name).

         Well I’m off to work.  Hope you have a great day and do your best!

Reality

image

      Well, as much fun as I’ve had in the last few days doing traditional stuff,  you just knew I was going to get back to drawing the new fashioned way. My newest muse is a cosplayer named Callie and hopefully some of you recognize her from her page. Her linework was done with a hard edged brush set at 7. The detail lines were done on a separate layer at 4. I didn’t clean up my lines yet; once I get into a zone, certain lines are done over and over until I feel that they look fairly accurate.

image

      Once the lines are done, I grouped all of those layers together and lock them. Believe me, you don’t want to spend ANY time fixing a dumb ass mistake now!

     Next I began to add colors. Under a different group, I create a layer for hair. I’ve decided that (a)I’m going to start with muted versions of the final colors for mood and (b)I’ll use colors already in my swatches. If you look really closely, you can pick them all out in the screen grabs.

image

      With the skin, I decided that a little bleed over is good. It will help later to create the effect of her wearing objects, as opposed to them merely sitting on her. What about her eyes and lips, you say?
Stay tuned…

image

      This will be the bottom layer of this group; the next two are above it. Again I pick the flattest color for my fill, allowing me to add a clipping mask to any layer in order to work it.

image

image

      So clearly there is NO silver on Miss Amazonia in the real image. There won’t be here as well. I’m using the color and mixing it later to create a sheen on the bronze. You’ll like it, trust me.

     I’m feeling a little under the weather, so I don’t think I’ll get a lot done today; but believe me, when it’s done I expect to be pleased! Have a fun day!

Racer S, part 1

image

     Annnd we’re off! Really looking forward to this all week as I began work on a new piece. I decided to give it a little of the speed racer feel and driving skills not withstanding,  make the talent into a born driver. So I worked on a pose to give her that dynamic quality of being girly, yet ready for action.

image

     It still has to look like our lovely model, even in this new position so I create a matrix of her face and body to get the proportions correct. This will help later in case I want to make slight adjustments to her expression. Some of you already know the drill;  head is 5 eyes wide, eyes are in center of total headspace, edges of mouth intersect center of eyes and ears are eyebrows to nose. That’s the mathematical representation of human symmetry and beauty!

image

     No driver is ever the same without their awesome ride! Unfortunately, I forgot to save this image until I had already started line work! I HATE doing that part; I have nerve damage to my hands and it involves a lot of smooth flowing lines. Still, it has to be done and all the erasing is worth it in the end. As you can see,  I’m grouping each aspect of the image individually.  That way any changes I need to make to individual sections can be accomplished without changing the whole. Smart, huh?

image

   This is the overall effect. Some aspects will change as I tweak the image, but for the most part, I’ve got a good base. Some design elements will clearly need to be addressed;  I reversed the image and it felt a little clunky with the flag. However, I’m happy with the design and when complete, some cute little muse is going to have an awesome poster or t-shirt! For now though, there’s a lot of line work to do,  so enjoy your weekend!

Stalker

snobex3

As you can see, things moved right along on the image. It took about 6 hours, with me making myself not stare out my window. This one has a little more fun to it. I’m still debating on whether or not to add snowflakes in the image, but one idea had been playing around in my brain and that was to show the camera.

SnoBex_final

I’m a little iffy on the black and white effect around the edges, but she loved it, so it stays. Again, if you want an image of your choice to be next, please make a suggestion. The best one will be next month’s muse.

Makin Bacon Pancakes!

snobex

This week I learned that all the driving skills I picked up in Germany years ago are still relevant. Namely how to negotiate the terrain on the ice planet Hoth. Stupid ice storm! I drove through it for four states. Fun times…

snobex2

Anywho, for this image, I’m trying a few different techniques. I’m trying to be a little more versatile and its actually fun! Also, I’m making a LOT of new friends in the art world. Honestly, I think of my skillset as being in the lower 20%, but I’m on the ladder and climbing and getting better all the time. One day these images will be a four hour deal and I’ll move up to more realism. But since I grew up on comics and cartoons, it reflects in my style.

Cafe Muse, part3

20

Sorry about the gap guys, I’ve been really busy with all the work I picked up from the bodybuilding show I attended. Add to that the gymwear and logos and…well, let’s say doing all that and working a full time job has left me short on time!

As you can see from the above photo, I pretty much got everything the way I wanted in the photo. Now I merge all my shading layers down into one layer. Then, using the lasso tool, I outlined all my skin tones. Finally, I use Ctrl+U to get my saturation tool to adjust skin color. Make sure you select the colorize box!

21

Little by little, select and isolate the colors needed to create the look you want.

22

Next, I began to add facial highlights. I’m going to be honest; If this picture were going for more realism, I wouldn’t use these at ALL. I mean, there’s no truly white areas on your body, right? (sorry vampires)

23

This step is optional, changing the line colors. I don’t always do it, but sometimes it works really well. Others…well, that’s what Ctrl+Z is for. Plus in the side by side comparison the image seems a little wide.

24

I added a background gradient, then erased a strip out of it. I’m not going to get too fancy with it. Besides, its a poster so I could put a year calendar, a memo spot or anything she wants there.

Hope you guys enjoyed the basic premise! Of course the hair will be done on the finished piece, but now you know how it’ll happen. Good luck and have fun!