Sorry about the gap guys, I’ve been really busy with all the work I picked up from the bodybuilding show I attended. Add to that the gymwear and logos and…well, let’s say doing all that and working a full time job has left me short on time!
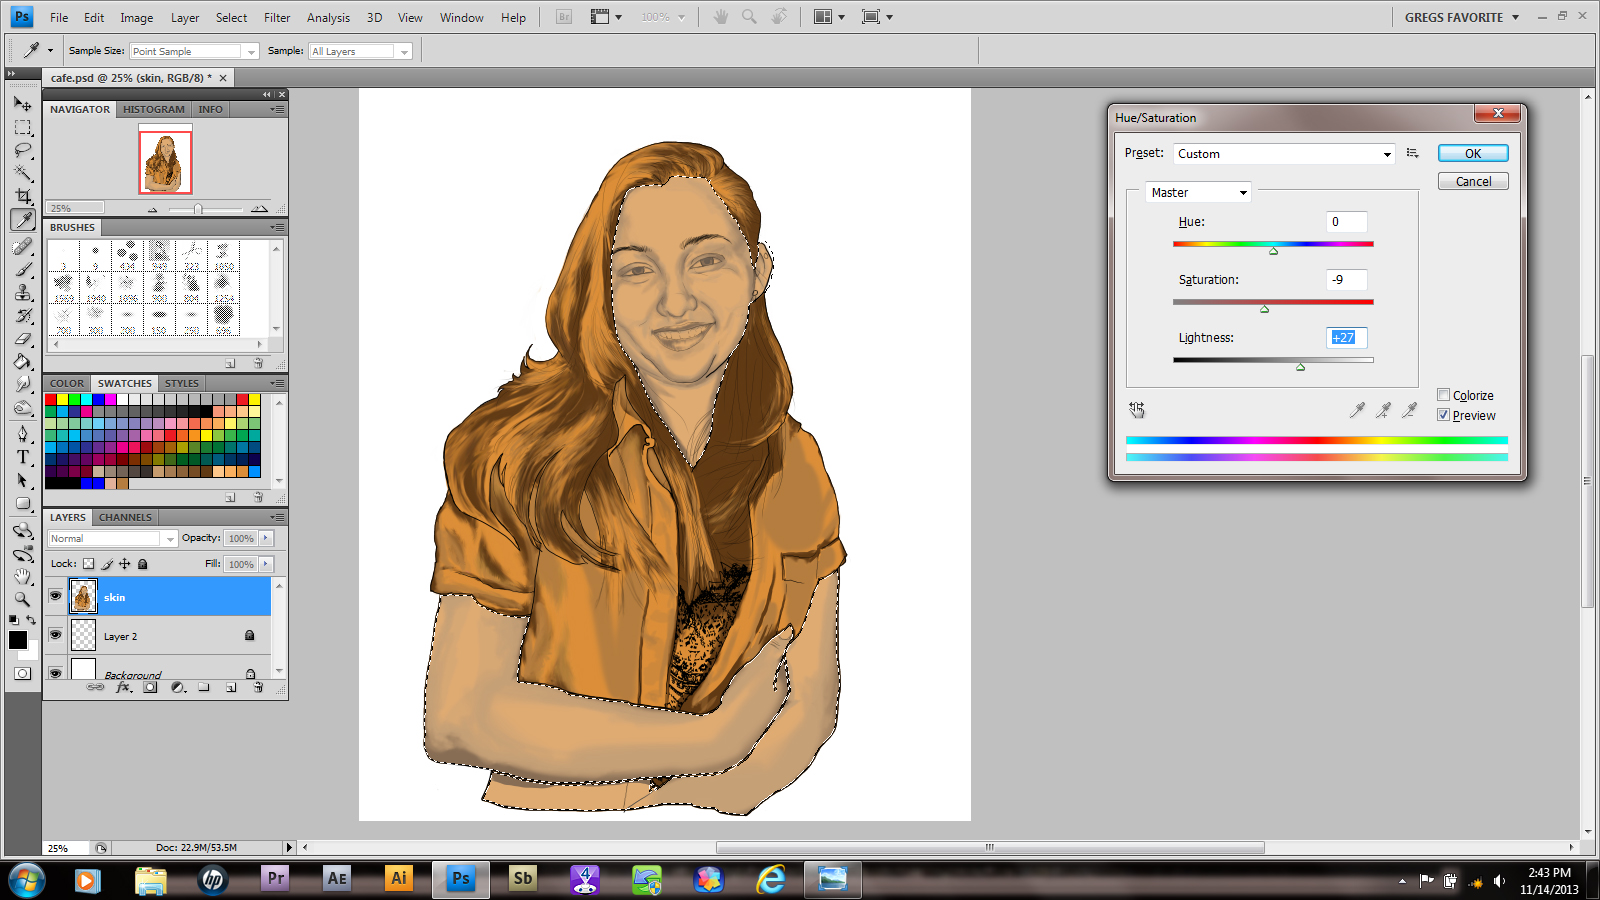
As you can see from the above photo, I pretty much got everything the way I wanted in the photo. Now I merge all my shading layers down into one layer. Then, using the lasso tool, I outlined all my skin tones. Finally, I use Ctrl+U to get my saturation tool to adjust skin color. Make sure you select the colorize box!

Little by little, select and isolate the colors needed to create the look you want.
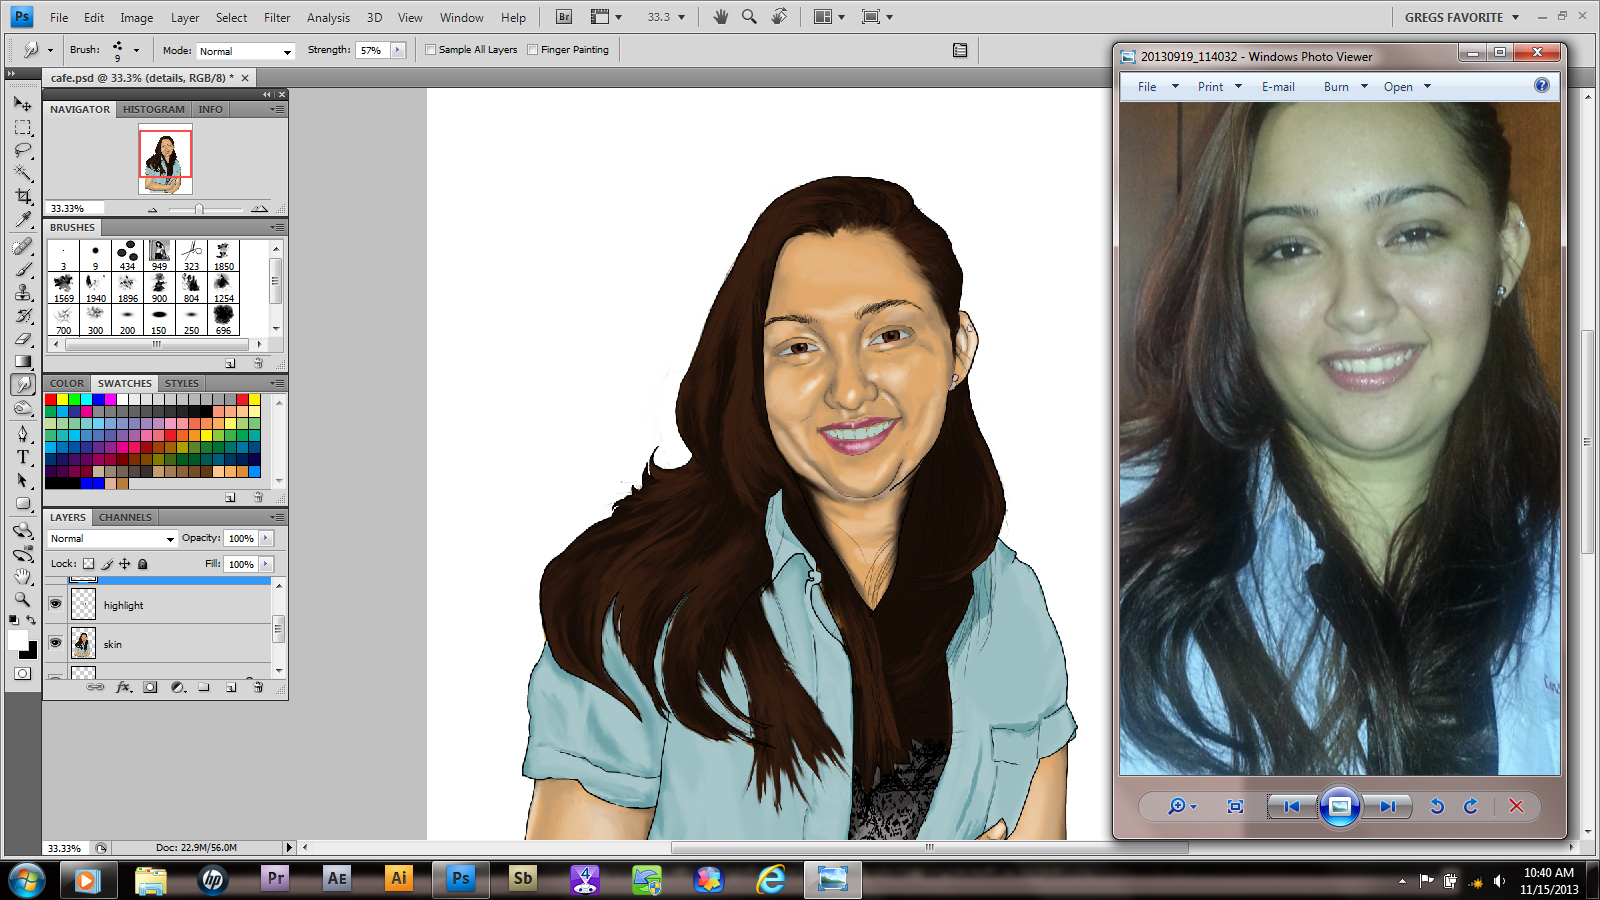
Next, I began to add facial highlights. I’m going to be honest; If this picture were going for more realism, I wouldn’t use these at ALL. I mean, there’s no truly white areas on your body, right? (sorry vampires)
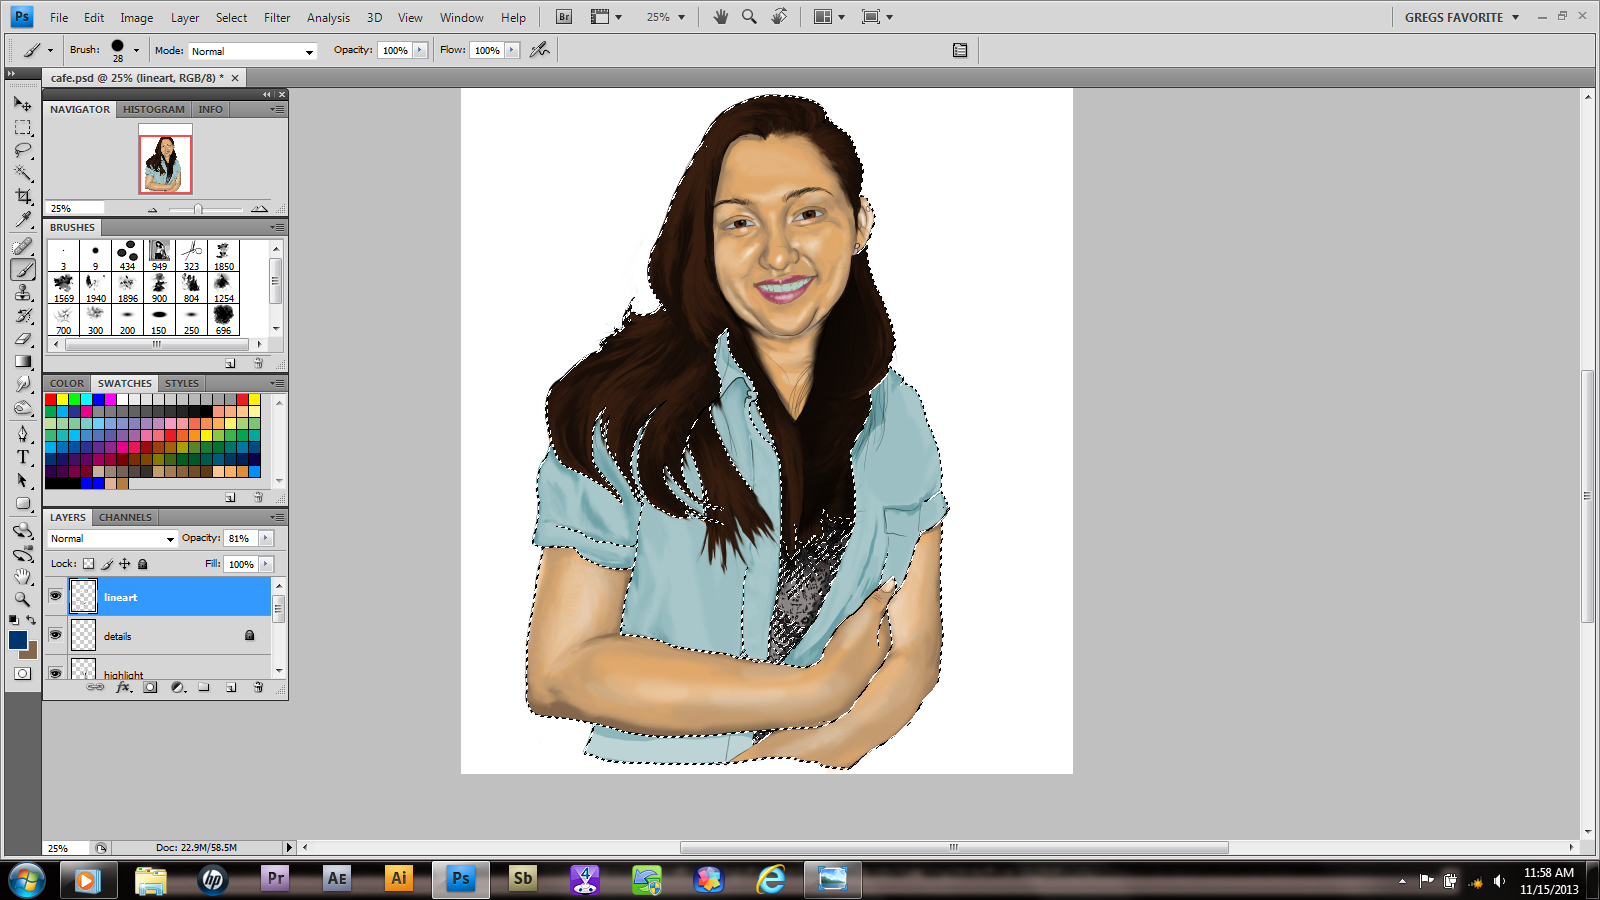
This step is optional, changing the line colors. I don’t always do it, but sometimes it works really well. Others…well, that’s what Ctrl+Z is for. Plus in the side by side comparison the image seems a little wide.

I added a background gradient, then erased a strip out of it. I’m not going to get too fancy with it. Besides, its a poster so I could put a year calendar, a memo spot or anything she wants there.
Hope you guys enjoyed the basic premise! Of course the hair will be done on the finished piece, but now you know how it’ll happen. Good luck and have fun!
