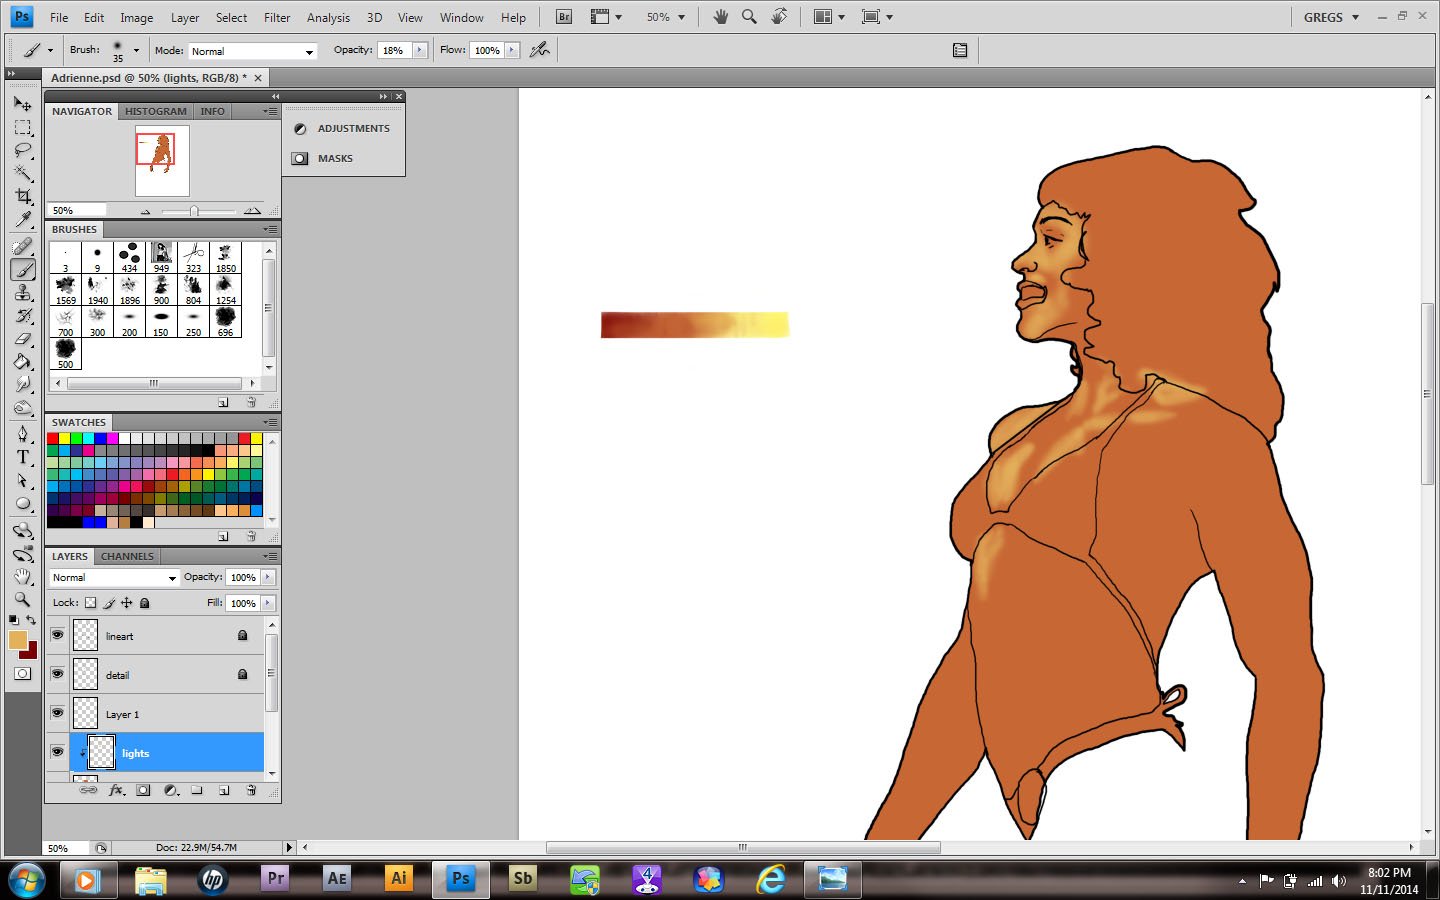
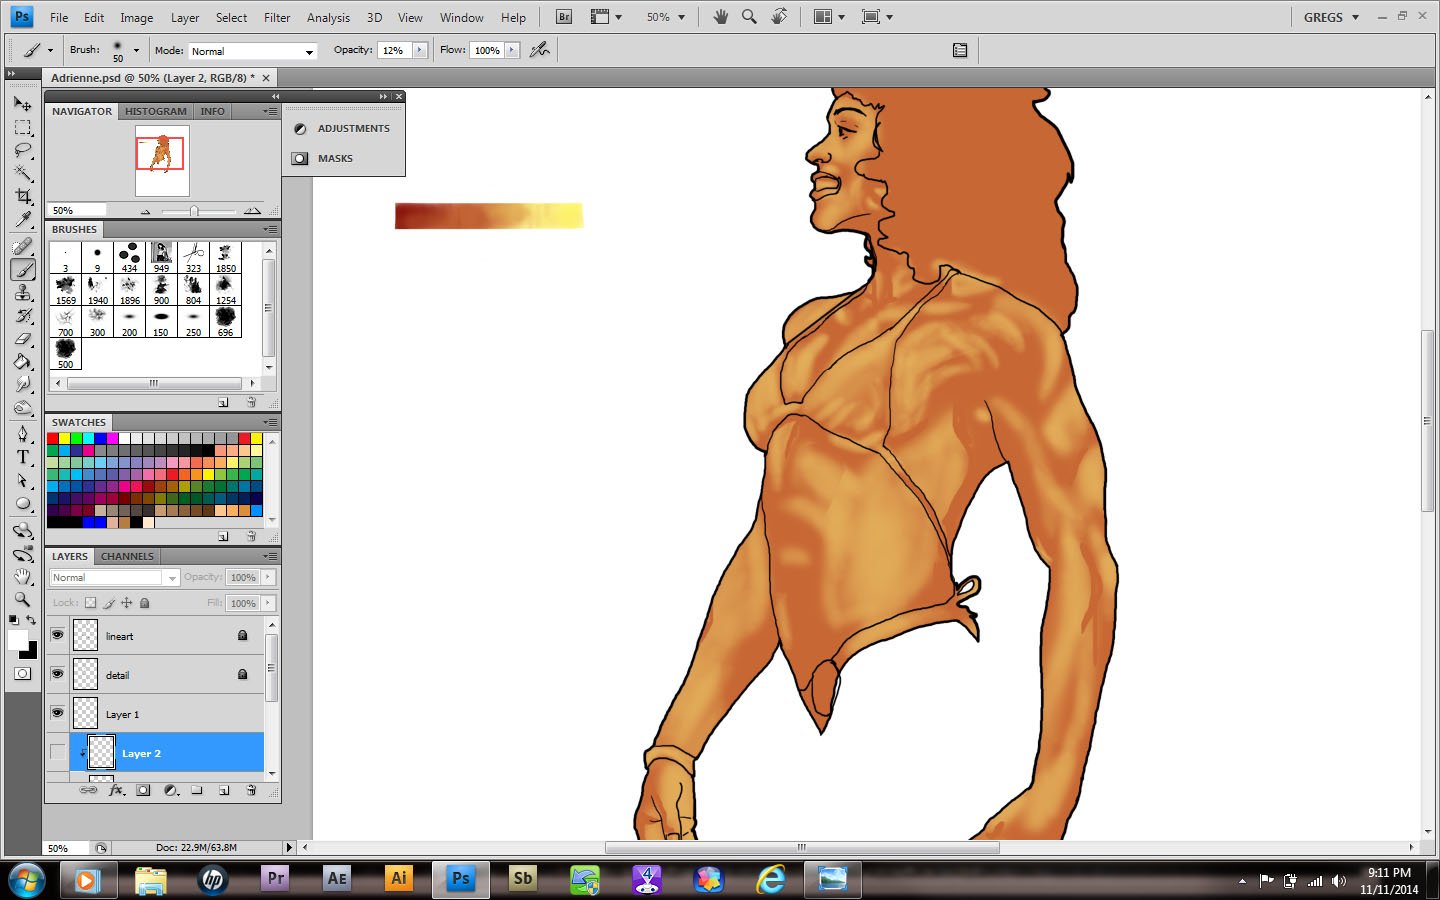
Didn’t I promise you guys a greyscale image that I’d color by blending them in?
I can’t remember….
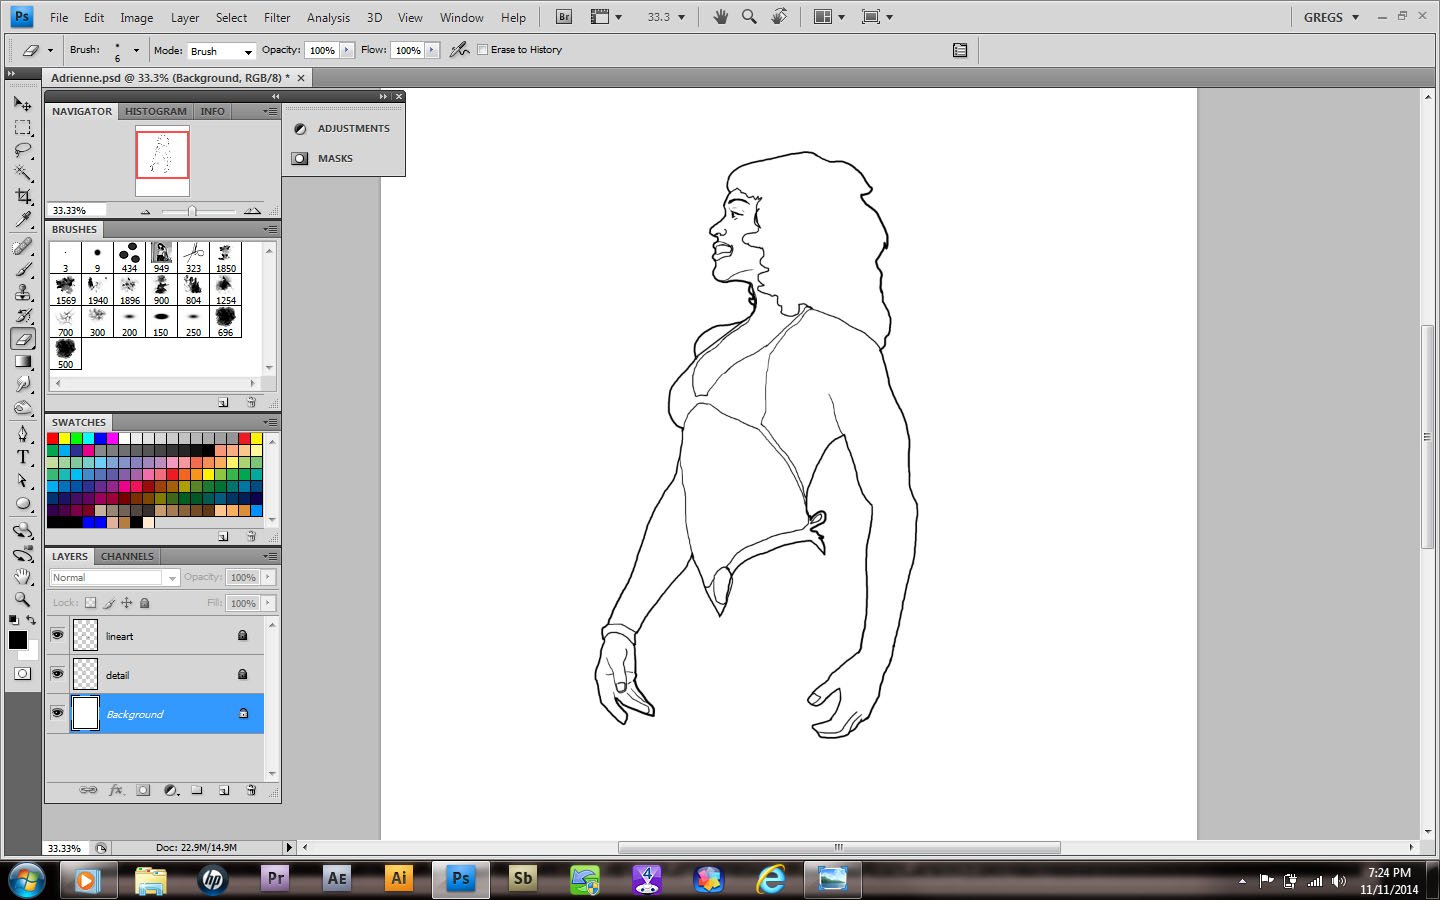
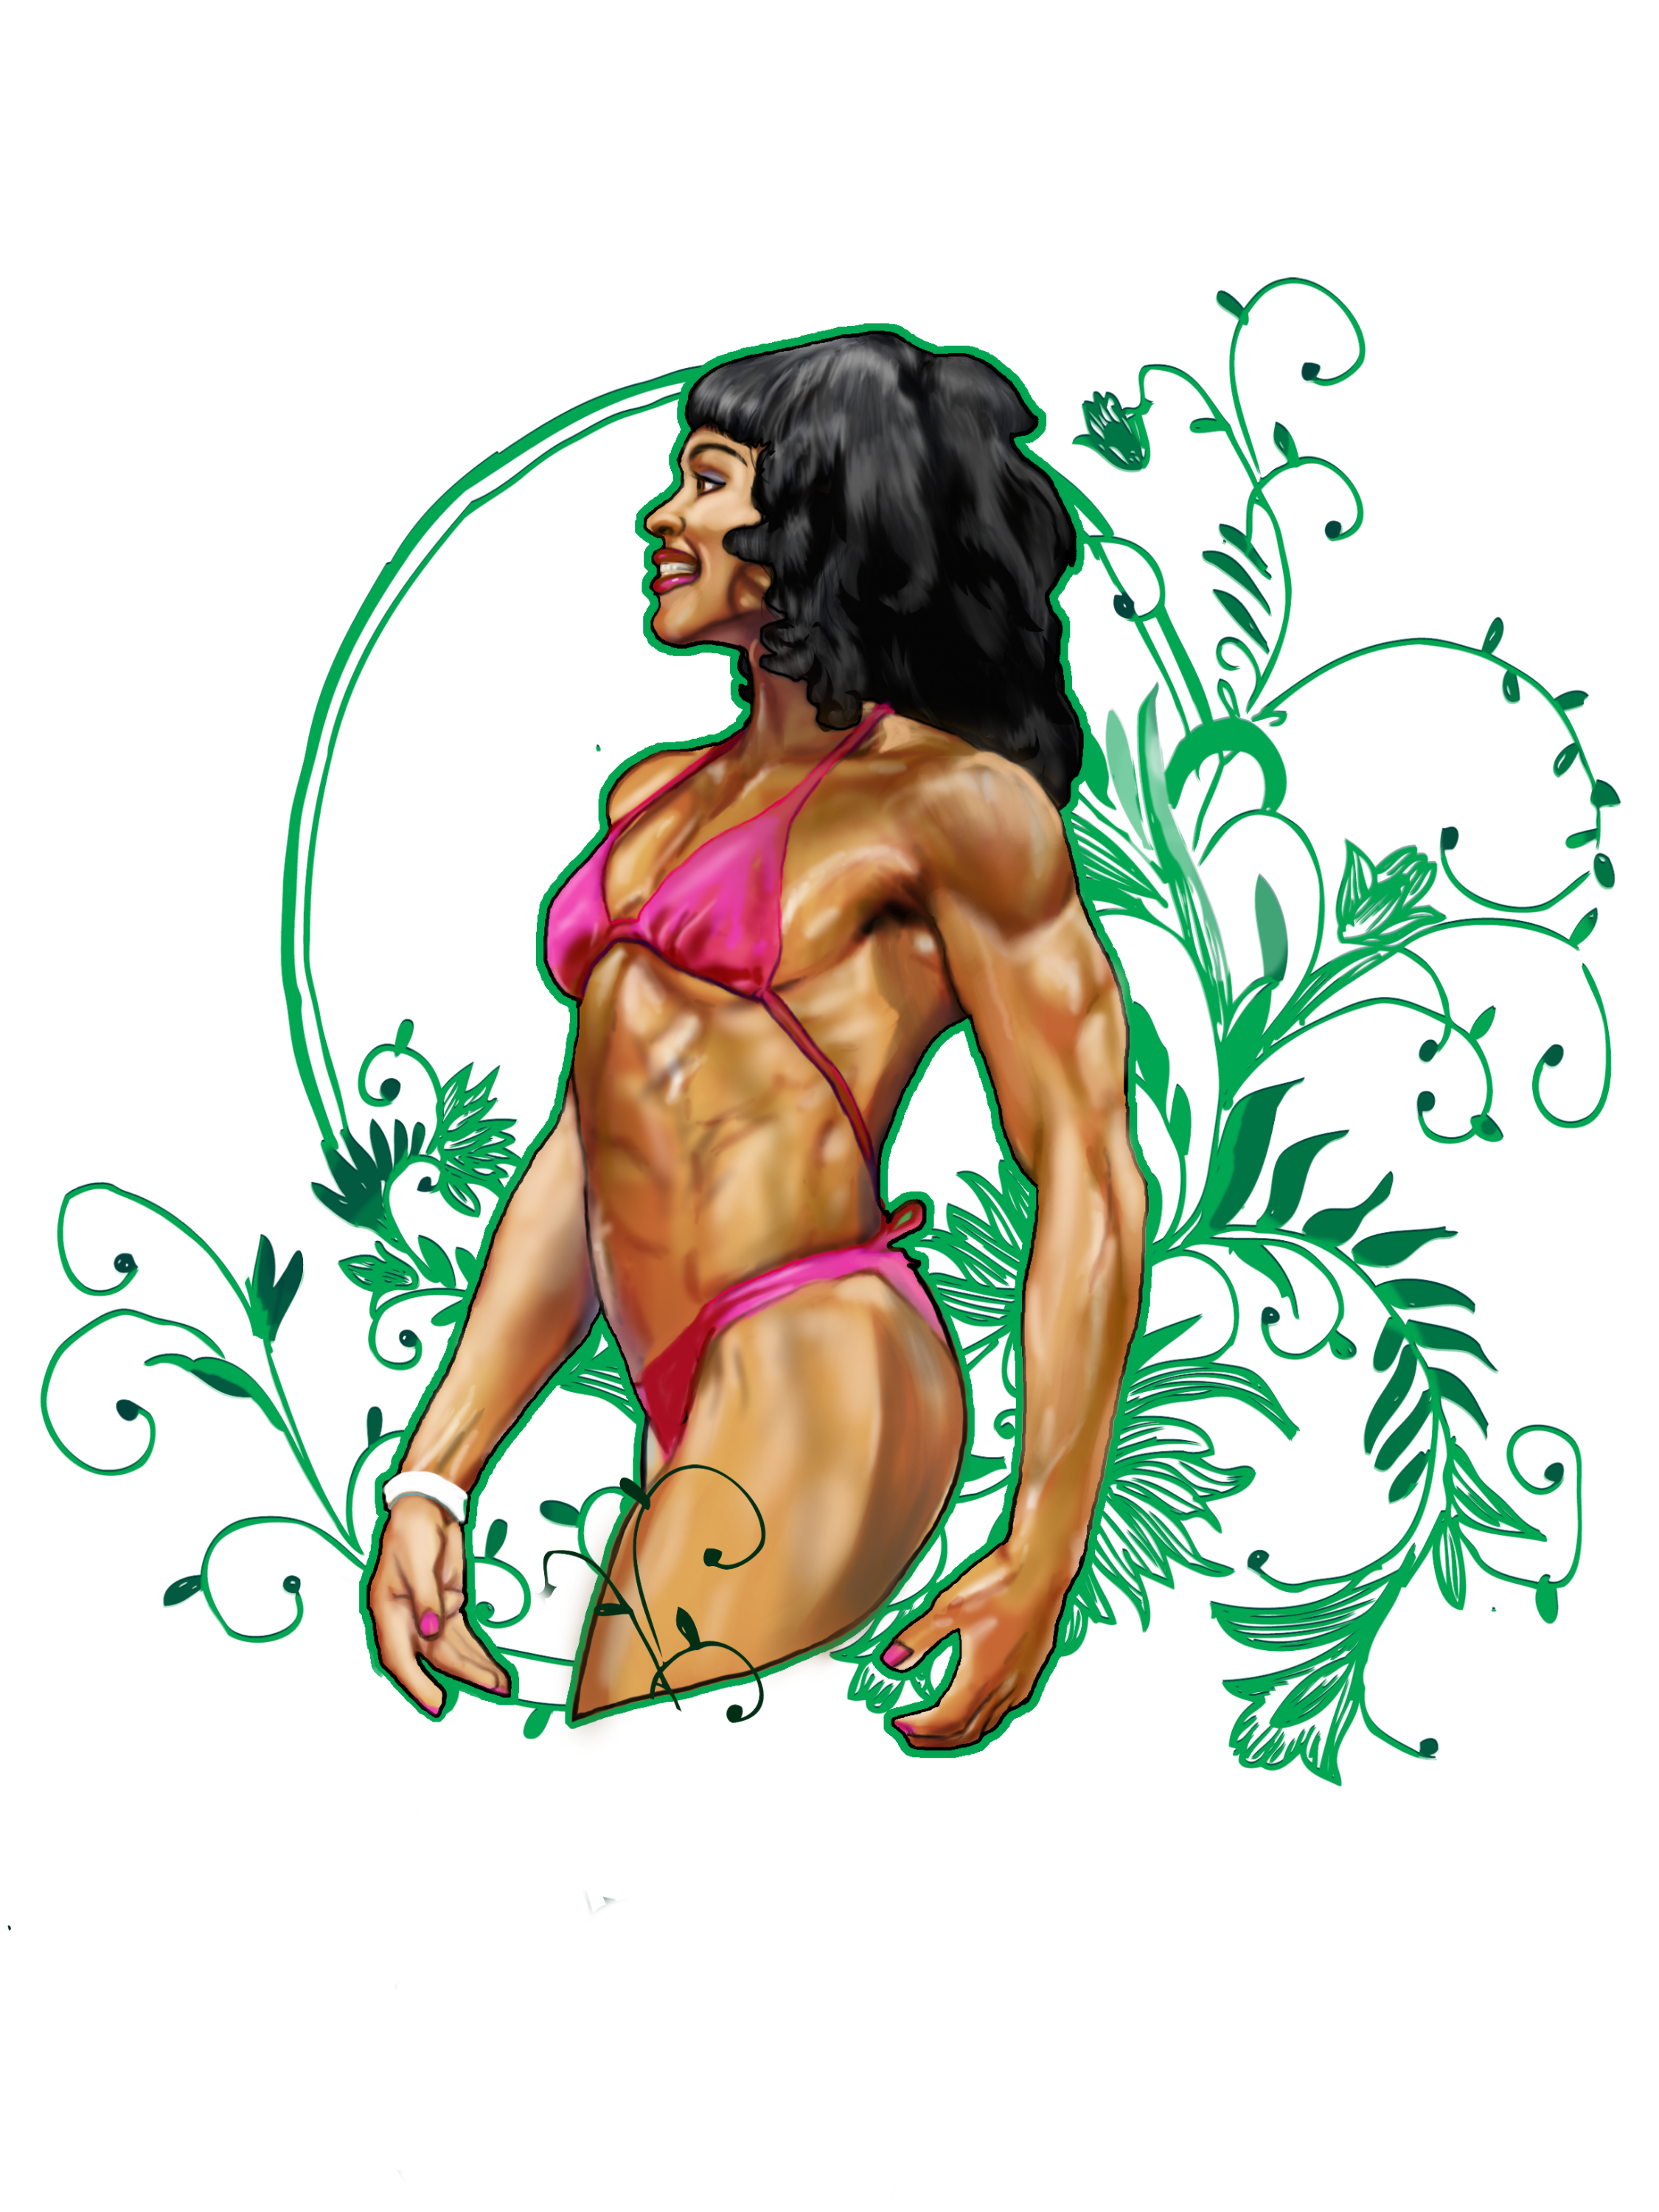
It doesn’t matter though, cause I’m doing it anyway! I begin by drawing my subject from a very bad phone shot. No, I won’t show it; I’m a videographer my rep would suffer! Besides, this is really just a sketch. Once it’s done I began by changing the color and opacity. I create a separate layer for all the line work needed. Always make sure you’re using hard edges at this stage.

Once you’re happy with your line art you can divide it up if you choose. I always put all the interior detail work on a separate layer, so that I can change it to go with my color fills. I’m pretty sure that’s not standard or anything, it’s just something I prefer.

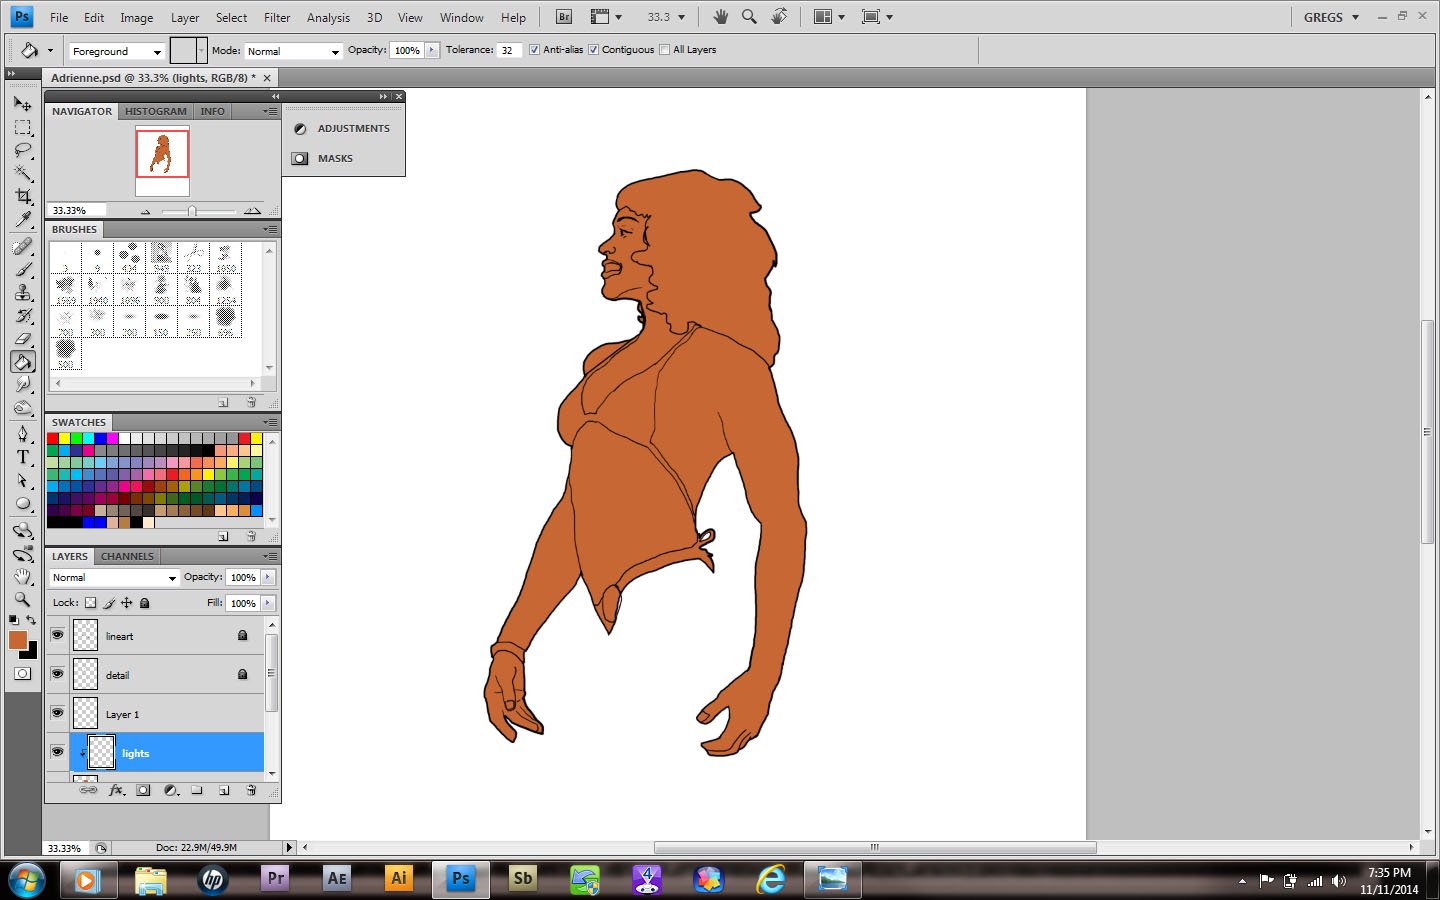
Today I took a cloud brush and stamped in some green clouds. Why? Hell if I know! Just kidding. I actually have an idea kind of bouncing around in my skull. After that I create another layer and use the selection tool  to outline the main layer of art. If it doesn’t come all the way into the line, choose [Select> Modify> Expand ] to increase your selection edge by increments of pixels. So much fun!
Once you’ve gotten a good setup, make sure you have the interior of your outline. It you see your selection ants on the border as well, press [Ctrl/Cmd +shift +I] to invert your selection. The next step is to pick a midrange color and using either your brush or paint bucket, fill the selection area. Pretty easy, right?
That’s it for now. I’m going to go drink and play while you practice. Just like a real teacher…