Tag Archives: muse of the month

Quickly Go Slow

image

   So after pretty much nothing in January, I seem to be loading up the box this month! I have some weird clients and a few don’t want to have their stuff displayed at ALL.  I guess I’ll have to change my contracts to accommodate my own right to display what I create. As long as I’m not mass producing (or selling) personal art,I foresee no issues.

    My kid is crazy about his picture!  Unfortunately, so are the rest of my family, and what I feared would happen has already begun to come to pass. I’m getting pics of kids,  husbands, nieces and others sent to me,  “as a favor”. No. Hell no! So I explained that my art was like owning a store and that EVERYONE had to pay for the goods therein.

   No freebies.

   Then I posted my current contract and pay scale and offered to provide the same services I’d given uncle Roland.

   We’ll see if anyone was serious…won’t we?

Advertisement

A Loving Nightmare

9tailed_fuzz

line work matters!

I decided that this month’s muse would be my son. It’s funny, you would think I would spend more time drawing my loved ones, but for whatever reason, I don’t. Maybe its mental or maybe I don’t want to open the floodgates; after all, once you began drawing family they all think you should.

So I made Sure that I wanted to do this first. because honestly the more time passed, the more it was becoming an issue and bothering me. Friday I started the line work. Then erased. Then changed. Then erased. It had to look like him and have his shape, so after several hours I got the desired effect. As usual, I sketched a rough shape, then did the detail work at one brush size, then outlined the overall shapes in a larger one. Since I’m self taught, it took a few pictures to get this down pat. Now I always organize this way.

Dami

Once I had all the line work completed and organized, I used the selection tool and created layers for the jacket, sweater, t-shirt, jeans, skin and shoes. I colored each with a brush set for 0% hardness and 25% opacity. On the shirt and jeans, an additional blue was brushed in at 7% and 12%, respectively.

The background will be done last. Honestly I’ve had several ideas, but none of them have stood out. We’ll see. In the meantime I’ll keep working on this and others.

Stalker

snobex3

As you can see, things moved right along on the image. It took about 6 hours, with me making myself not stare out my window. This one has a little more fun to it. I’m still debating on whether or not to add snowflakes in the image, but one idea had been playing around in my brain and that was to show the camera.

SnoBex_final

I’m a little iffy on the black and white effect around the edges, but she loved it, so it stays. Again, if you want an image of your choice to be next, please make a suggestion. The best one will be next month’s muse.

Makin Bacon Pancakes!

snobex

This week I learned that all the driving skills I picked up in Germany years ago are still relevant. Namely how to negotiate the terrain on the ice planet Hoth. Stupid ice storm! I drove through it for four states. Fun times…

snobex2

Anywho, for this image, I’m trying a few different techniques. I’m trying to be a little more versatile and its actually fun! Also, I’m making a LOT of new friends in the art world. Honestly, I think of my skillset as being in the lower 20%, but I’m on the ladder and climbing and getting better all the time. One day these images will be a four hour deal and I’ll move up to more realism. But since I grew up on comics and cartoons, it reflects in my style.

Cafe Muse, part 3

8

In this portion there’s quite a bit more than there was in the last. Deep breath? Here we go!

We begin by cleaning up some of our brush work in the midtone layer. The first setup was the old squinty eye, where are my shadows technique. Now you refine all of that effort and create a new skin layer.

9

See the fuzzy coloring in the corner? Well, sometimes I need a color that isn’t exactly in my palette, that has to be a middle selection of two choices. At that point I take a simple brush, lower the hardness to zero and the opacity to the 50’s. Then I use my darkest and lightest colors of choice and blend them together until I get a fair range. That way I can select from this choice or even save the selection I make to the palette. It gives me a good inbetween color.

Anyway, once that’s done, I lower the opacity even more. Usually 36% works pretty well, depending on how slowly I want to blend in. I use this layer to begin blending the different values together. I can’t really tell you HOW to do this; everyone has their own level of ability. Still you can see the results it produces.

10

Here you can see a close up of me using this technique on the arm, as well as my brush settings. Pay attention to your blended edges!

11

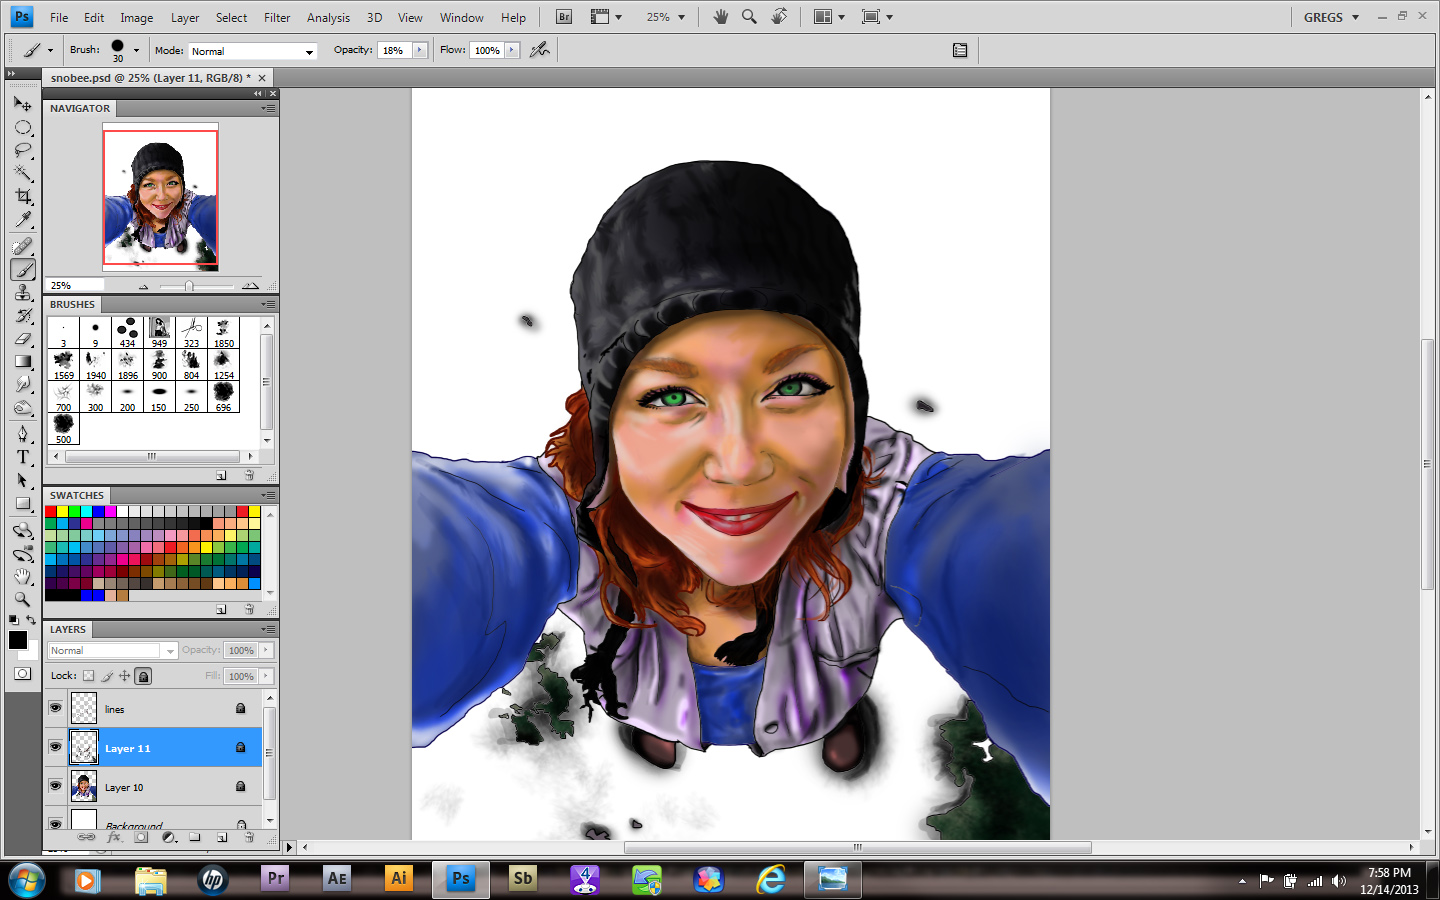
A detail of the picture was bothering me. Her shoulder was sticking out and because the shirt is a little large on her, she had a Quasimodo look to her. This girl is way too cute for that! Luckily I had more than one photo of her. Remember, reference material is important! I used to believe that “real” artists didn’t need any of that crap, that it was like cheating. So the lesson here is don’t be a dumbass like I was!

12

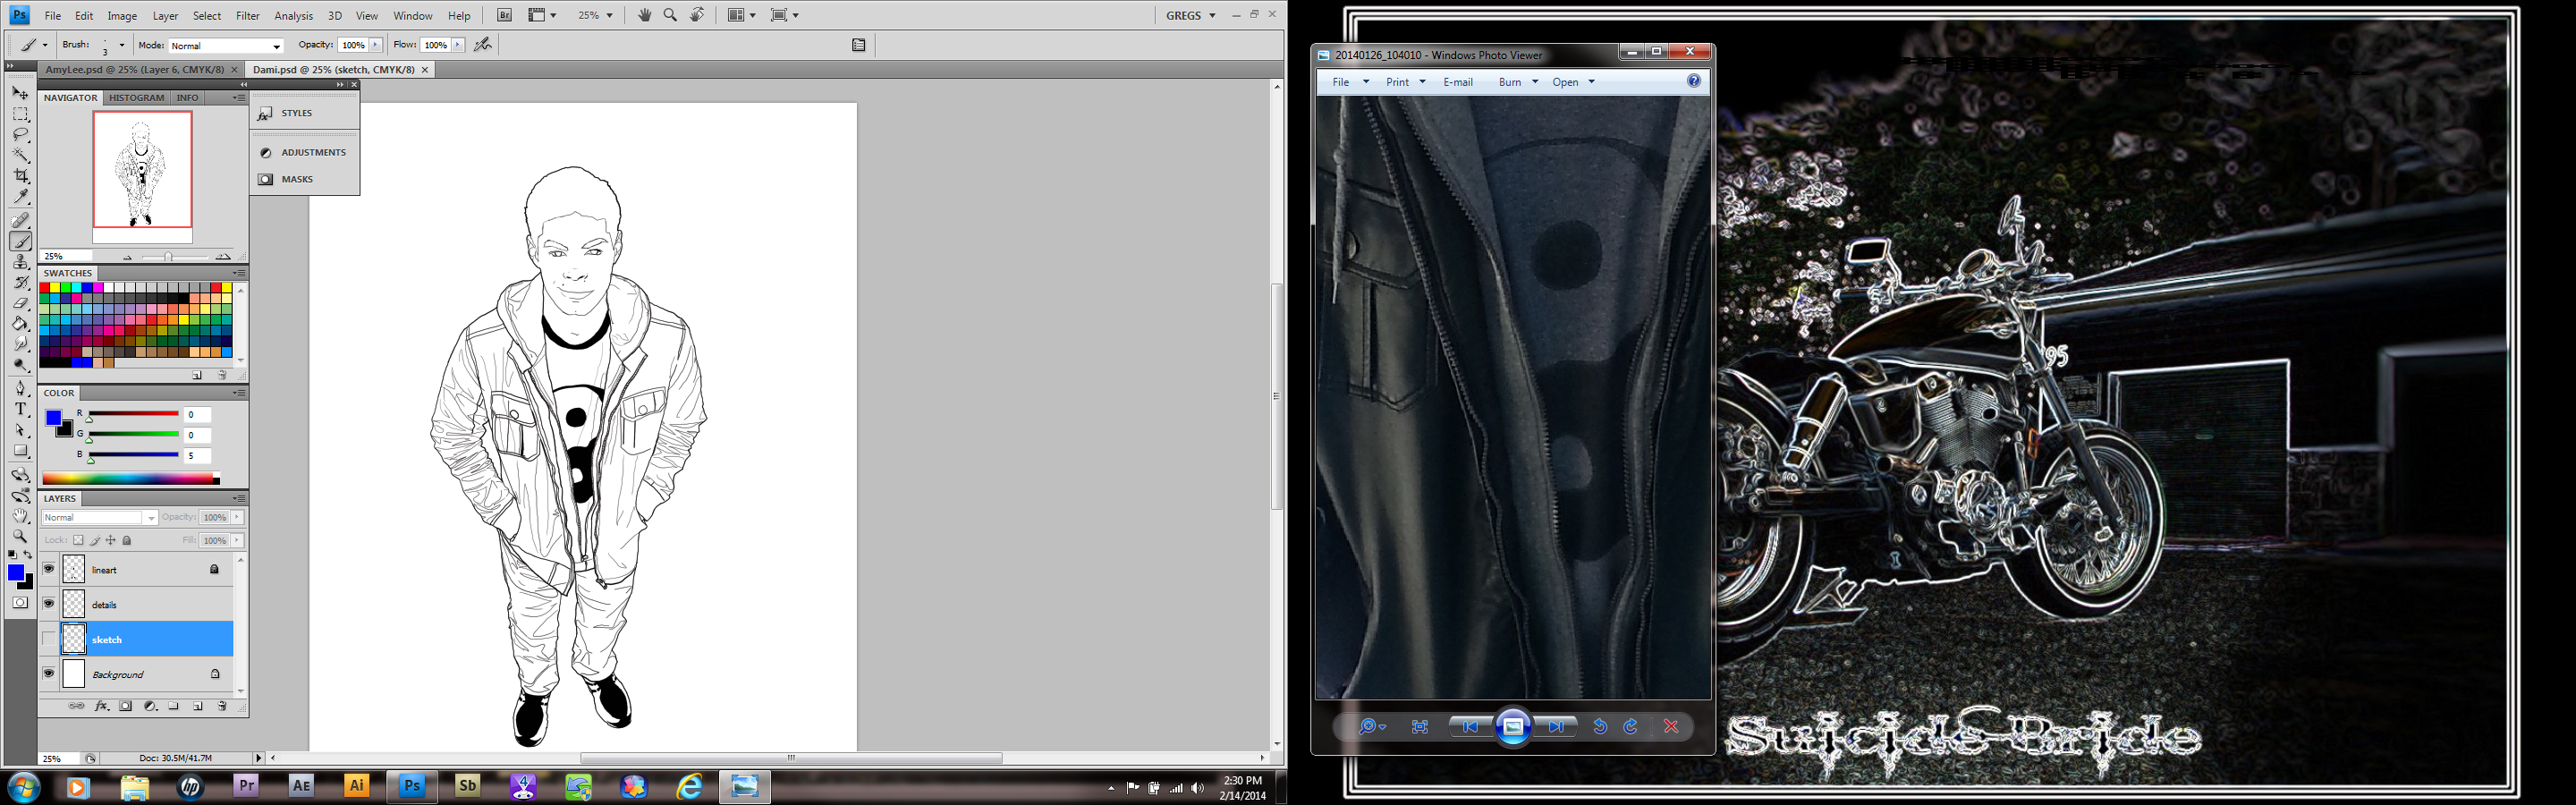
As you can see, by redrawing the area she looks a little more balanced. What you’re creating involves a process and sometimes it will evolve in ways you didn’t expect. Be open to correcting flaws and reverse and flip your image sometimes. It’ll help you correct issues and notice errors. Like leaving out the linework for her blouse! Oops!

13

Luckily I have a quick fix for that. After opening a new project, you can go file>place and set the image the lines are in on its own layer. From here choose your selection tool and using your shift key, slowly click on the design and transfer it into a selection. When you have as much as you want, create another layer over the image. If it won’t let you, don’t forget to right-click the image layer and rasterize it. Once you have a new layer select it and , using a brush color and size of your choosing, fill in the selection. Copy or Ctrl+C the layer.

14

this is the layer that will be copied and pasted in the other project

15

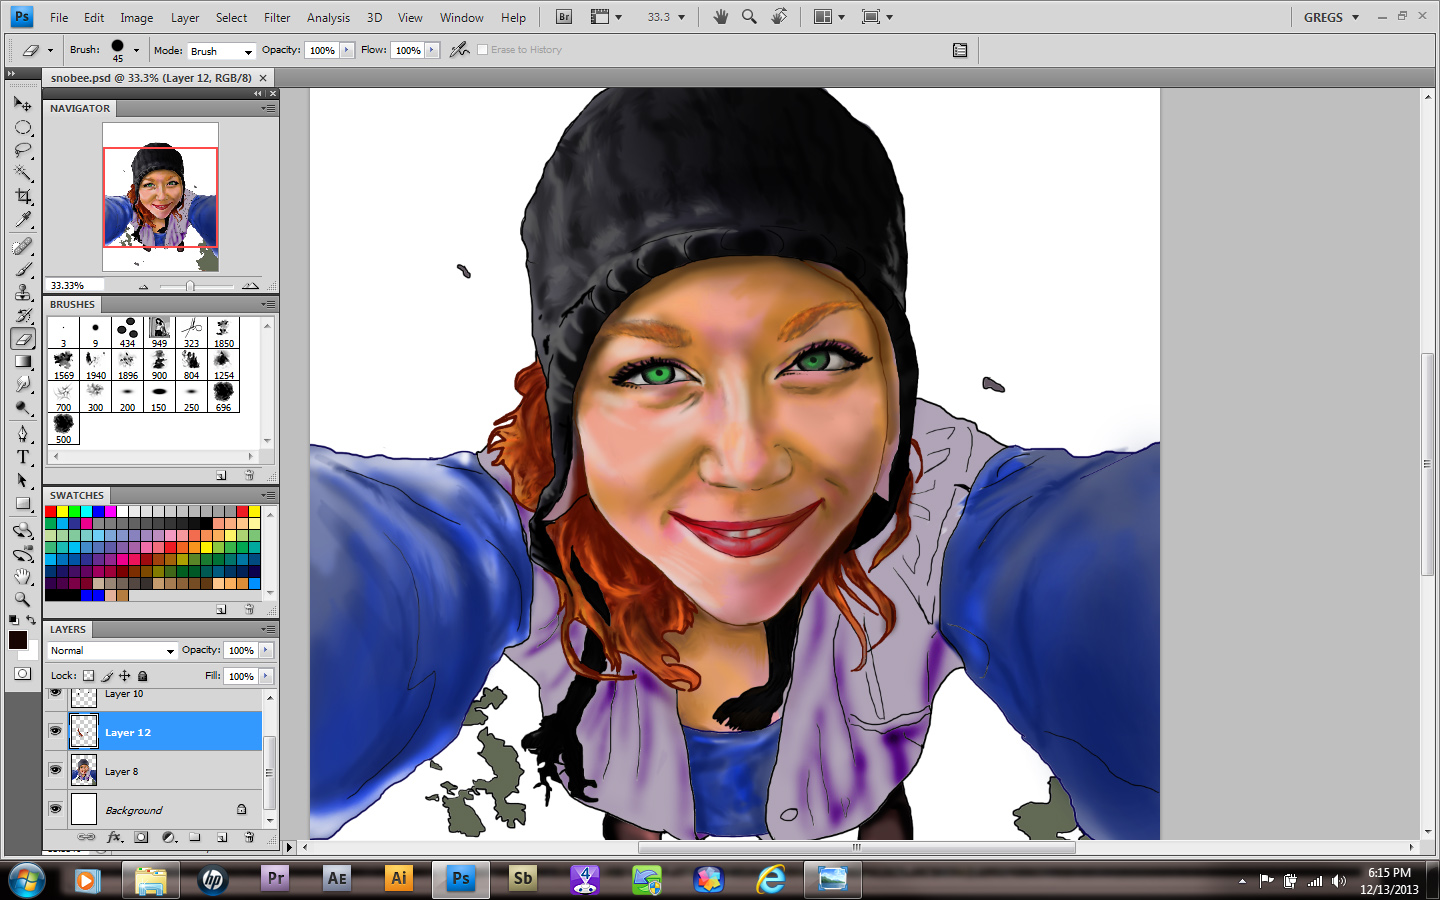
Now return to the original project. After creating another layer under the linework, paste or Ctrl+V the selection onto this layer. I used the move tool to align it, as well as a second layer to cover the area under her arm. I merged them by right-clicking the layer and selecting merge layers FOR THOSE TWO ONLY. I decided to leave the line levels darker than the surrounding line work. Lowering the opacity would have matched it perfectly, but I want the clothing to have a different texture from the person. So I merged it with the linework and locked that layer.